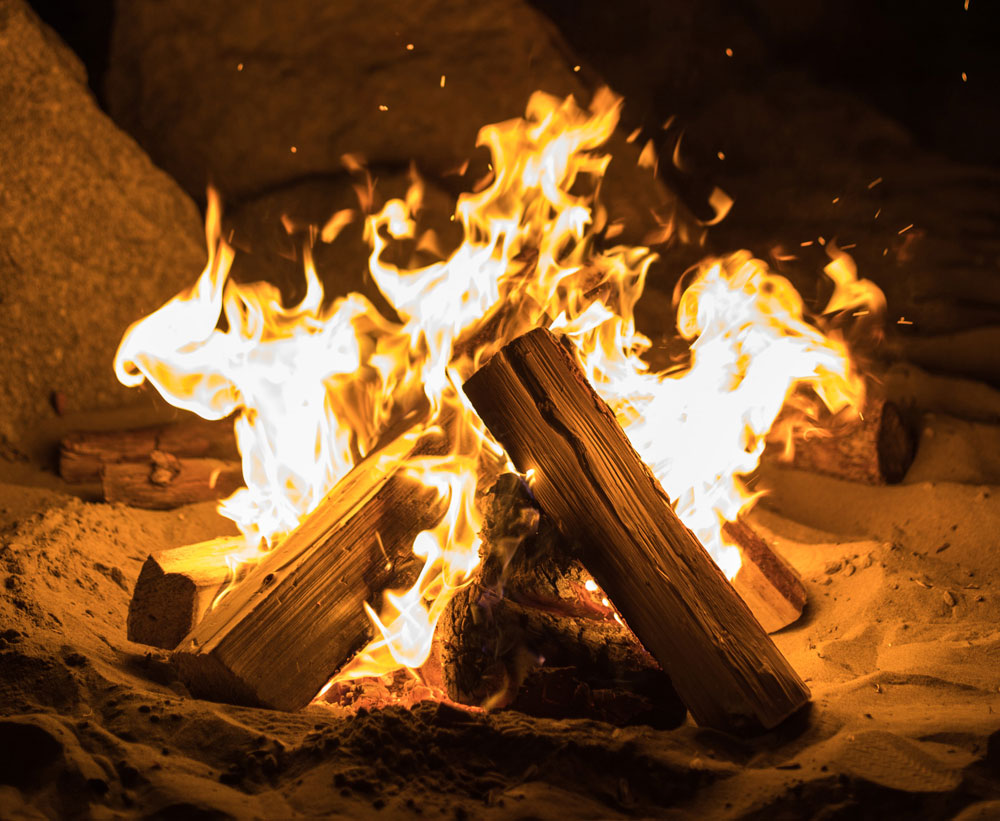
How To Start A Fire: From Wood to Technique
The Right Wood Matters
The first rule of thumb when it comes to efficient wood burning is knowing your wood. Not all wood is created equal, and choosing the right type makes all the difference.
- Hardwoods like oak, maple, and hickory burn hotter and longer, making them ideal for those cozy nights by the fireplace or extended cooking sessions.
- Softwoods like pine, spruce, and fir ignite quickly but do not last as long. They’re perfect for a quick, hot fire to boil water or get warm in a hurry.
Understanding the properties of different woods and having the right type on hand is helpful. I recommend finding an app or a guidebook, and going on a scavenger hunt identifying the various types. Look for color, shape, scent, and texture and see what you can find!

Dry as a Bone
Wet wood can be a real buzzkill when it comes to building a fire. Always aim to use dry, seasoned wood. Wood with a moisture content of 20% or less is ideal. If you’re scavenging in the wild (where and when allowed), look for dead standing trees or branches off the ground. Always carry a fire-starter or two in your survival kit – you never know when you’ll need a quick ignition source. If you have wood stocked at home for your wood burning stove or outdoor pit, store it in a dry, sheltered location.
The Right Tools for the Job
Axe or Hatchet: A high-quality axe or hatchet allows you to chop logs into manageable pieces for your fire or shelter. Make sure to keep your cutting tools sharp; dull blades make the job harder and less safe.
Saw: While an axe is excellent for splitting wood, a saw is invaluable for cutting logs into smaller, more manageable lengths.
Knife: Beyond its role in preparing food, a knife can be used for tasks like carving wood, or feathering sticks for kindling. And if you’re like my children, whittling is a great pass time around the fire.
- A Multi-tool pocket knife also is great to have handy – you never know when you’ll need a set of pliers!
Firestarter: Even with all the tools and knowledge, getting a fire going from scratch can be a challenge, especially in adverse conditions. That’s where fire-starters come in. You can choose from various options like waterproof matches, flint and steel, or fire discs. Keep a few of these in your survival or camp kit.
Backpacking Stove: A lightweight backpacking stove like a JetBoil, Kelly Kettle or a Coghlan’s folding stove can be a game-changer. It’s a highly efficient and controlled way to cook your meals and boil water without the need for a full campfire.
Firewood Carrier: When you’re transporting firewood from your processing area to your campsite, a firewood carrier can save you multiple trips. They come in various styles, including wheelbarrows, canvas or mesh bags and strap systems. Or, if you have children, they can be excellent firewood transporters (no promises you’ll be able to hear the pleasant sounds of nature over them).
Keep It Ventilated
No one likes a smoky fire. A well-ventilated fire is a happy and efficient fire. Proper ventilation not only ensures that your fire burns cleanly but also contributes to its longevity and effectiveness. Here’s how you can achieve excellent ventilation for your outdoor fire:
Build Your Fire Lay:
The arrangement of your firewood has a substantial impact on airflow. When building your fire, consider using one of the following methods:
- Teepee Method: This classic method involves stacking your kindling and fuel wood in the shape of a teepee. Leave an opening on one side to allow airflow. As the fire burns, it draws in oxygen through the bottom, sustaining combustion.
- Log Cabin Method: Create a square or rectangular shape with your logs by stacking them perpendicular to each other. Build several layers, and place kindling and tinder inside. The gaps between the logs create ample airflow. This is similar to a pyramid but much more space between logs to allow air flow.
- Lean-to Method: Lean a larger log against a sturdy support, and stack smaller logs and kindling against it on the windward side. This setup channels air towards the base of the fire, providing a steady supply of oxygen.
- Pyramid Method: Stack your wood largest on the bottom, getting smaller the taller you get, keeping your wood snug and close together. Your kindling and tinder goes on top, and the fire will slowly burn downwards, allowing you to keep a fire burning through the night if necessary. Remember to have rocks or a fire pit circling your fire for safety.
- Star Method (Cross-ditch): If you’re starting a fire to one-pot cook over, this method is perfect. You can set up your tripod over the center.

Clear the Area: Ensure the area around your fire pit is clear of leaves, grass, or debris that could hinder proper ventilation. A clean, non-flammable space prevents embers from spreading and encourages efficient airflow.
Position the Windward Side: If possible, align your fire pit or campfire with the prevailing wind. This ensures that oxygen-rich air is continuously funneled into your fire, enhancing its combustion.
Add Air Channels:
In situations where you need to start a fire in less-than-ideal conditions, consider adding air channels to encourage airflow. Place a few sticks or rocks beneath your tinder to create space for air to circulate.
Caution: While proper ventilation is essential for a good fire, be aware of your surroundings. In windy conditions, a fire can quickly get out of control. Always keep an eye on the fire and be prepared to adjust your fire’s size and airflow to maintain safety.
Smoke:
Have you ever built a fire and found it to be really smoky? Here are some tips:
- Use Dry Wood: Wet or green wood contains a substantial amount of moisture that, when burned, results in excessive smoke.
- Proper Wood Selection: Choose hardwoods over softwoods. Hardwoods like oak, maple, or hickory tend to produce less smoke compared to softwoods like pine, spruce, or fir.
- Start with Small Sticks: When initially lighting your fire, begin with small sticks, twigs, or kindling.
- Well-Designed Fire Lay: As mentioned earlier, the method you use to arrange your firewood can significantly impact smoke production. The teepee, log cabin, and lean-to methods provide ample ventilation, resulting in more complete combustion and less smoke.
- Avoid Overloading the Fire: Adding too much wood too quickly can overwhelm the fire and cause incomplete combustion, leading to smoke. Gradually add fuel wood as the fire gains strength, ensuring it’s always getting enough air to burn efficiently.
- Maintain Proper Ventilation: Position your fire pit or campfire where it can draw in oxygen from the windward side. Adjust the size and arrangement of your logs to keep air circulating.
- Regularly Stoking the Fire: To reduce smoke during the burning process, periodically stoke the fire by adding small logs or adjusting the arrangement of existing logs. This helps maintain a steady and efficient burn.
Step-by-Step Guide: How to Start a Fire
Now, let’s break down the process of starting a fire in the great outdoors. Whether you’re using a fire pit, a wood-burning stove, or building a wilderness fire, these steps will guide you:
Step 1: Gather Your Materials
- Tinder: Start with easily ignitable materials like dry leaves, pine needles, or small twigs. You can also use commercial fire-starters, cotton balls soaked in petroleum jelly, or dryer lint. This is your very first source of fuel to get the fire ignited
- Kindling: Gather small branches, twigs, or sticks. These should be about the diameter of a pencil and easily combustible
- Fuel Wood: These are your larger logs
Step 2: Set Up Your Fire Lay
There are several fire lay methods mentioned above, but for beginners, the teepee method is often the easiest:
- Place a small pile of tinder in the center of your fire pit.
- Form a teepee structure around the tinder using your kindling. Leave an opening for airflow.
Step 3: Ignite the Tinder
Use a fire-starter, a lighter, or matches to ignite the tinder in the center of your teepee. As the tinder catches fire, it will ignite the kindling.
Step 4: Feed the Fire
As the kindling ignites and the flames grow, gradually add more kindling and then larger fuel wood. Ensure you maintain proper airflow.
Step 5: Maintain the Fire
Continue to add fuel wood as needed to keep the fire going. Be attentive to its size and intensity, adjusting as necessary.
By choosing the right wood, keeping it dry, using the right tools, maintaining proper ventilation, and prioritizing safety, you’ll be a wood-burning pro in no time. So, let’s keep the fires burning, stay safe while doing so, and enjoy the warmth and comfort of a well-burning fire in any situation. Happy camp-firing, my friends!

