Wilderness Survival Skills Part 1 of 3: Navigation
Navigating in the wilderness is a fundamental skill that can mean the difference between getting lost and finding your way to safety. Understanding navigation techniques is important for your safety, so let us discuss various skills necessary:
1. Using Maps and Compasses
Topographic Maps:
- When venturing into the wilderness, always carry a topographic map of the area. These maps provide detailed information about terrain, landmarks, and elevation.
Understand the Basics:
Start by looking at the map’s title and the legend (key) to understand what symbols and colors mean. This will help you make sense of the map’s details.
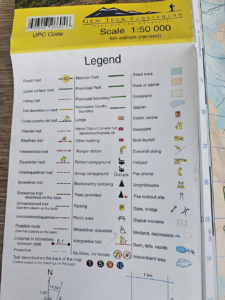
This is the legend of my Kananaskis Lake map:
You can read on a map’s Legend details such as solid black lines mean paved roads, dotted red lines show a hiking trail, while a block dotted line will show a snowshoe trail.
Determine Elevation:
 Contour lines are the squiggly lines on the map. They represent the shape of the land. Closely spaced lines mean steep terrain, while widely spaced lines show flat or gently sloping areas.
Each contour line has a number indicating its elevation above sea level. Read these numbers to figure out how high or low the land is. Lines closer together mean you’re going up or down a steep hill or mountain.
Identify Features: Look for natural and man-made features like rivers, lakes, roads, and buildings. They are usually marked with symbols and labels on the map.
Use the Scale: The map has a scale that tells you how far distances on the map are in the real world. For example, if the scale is 1:24,000, it means that one inch on the map equals 24,000 inches (or about 2,000 feet) in real life. This helps you estimate distances.
Check Grid Lines: Grid lines, like latitude and longitude or UTM, help you find your exact location. Think of them as a big grid system that you can use to pinpoint where you are on the map.
Orient the Map:
Make sure your map is oriented in the right direction. You can use a compass to align the map with the real world so that north on the map matches north in reality.
Plan Your Route: If you’re hiking or exploring, use the map to plan your route. Follow the contour lines to see if you’ll be going uphill or downhill. Use landmarks and grid lines to stay on course.
Practice: Reading topographic maps takes practice. The more you use them, the better you’ll get at understanding the landscape and making informed decisions. I suggest using a map on a trail you’re very comfortable and familiar with, and follow the markings on the map to learn how to navigate.
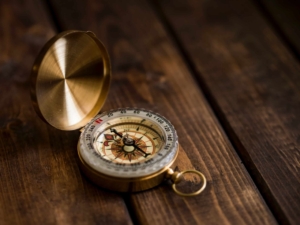
Compasses: A reliable compass is an important tool. To use it effectively:
- Hold the compass flat and ensure the magnetic needle aligns with the “N” on the compass.
- Rotate your body until the needle points north. Now, you know which way is north and can determine other directions accordingly.
2. Orienting Yourself
Find a Prominent Feature:
- Start by locating a prominent feature on your map that is also visible in your surroundings. This could be a mountain, lake, or any distinctive terrain feature.
Compare Locations:
- Compare the feature’s location on the map with its actual location in the wilderness. This will help you pinpoint your current position.
3. Using the Sun and Stars
Daytime Navigation: Use the sun’s position during the day to identify east and west. Remember that the sun rises in the east and sets in the west.
Nighttime Navigation: In the Northern Hemisphere, locate the North Star (Polaris) at night. It’s a fixed point in the northern sky and can help you find true north.Here’s a simple way to locate the North Star:
-
- Locate the Big Dipper:
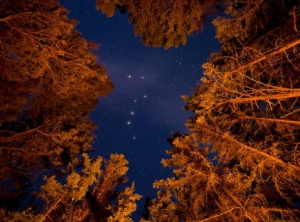 The Big Dipper is a well-known constellation and is part of the Ursa Major (Great Bear) constellation. It looks like a ladle or a saucepan with a long handle. It’s usually visible in the night sky, and its shape makes it easy to recognize.
 - Identify the “Pointer Stars”:
- Two stars at the end of the Big Dipper’s ladle or bowl are called “Pointer Stars” because they point the way to the North Star. These two stars are Merak and Dubhe.
- Draw an Imaginary Line:
- Imagine a line that connects the two Pointer Stars, Merak and Dubhe, extending away from the Big Dipper’s bowl.
- Extend the Line Approximately Five Times:
- Extend the imaginary line from the Pointer Stars approximately five times its length beyond the Big Dipper.
- You’ve Found Polaris (the North Star):
- The point where your extended line leads to is the location of the North Star, Polaris. It’s the only relatively stationary star in the northern sky and remains nearly directly above the North Pole.
- Locate the Big Dipper:
4. Landmarks and Tracking
- Natural Landmarks: Pay attention to natural landmarks, such as distinctive trees, rock formations, or water bodies. These can help guide your way and serve as reference points.
- Game Trails and Animal Tracks: Game trails and animal tracks often lead to water sources. Following these paths can be a reliable way to find water, a critical resource for survival.
5. Staying Put When Lost
- Safety First: If you become disoriented or lost, prioritize safety. Avoid wandering further, as it can lead to more confusion.
- Build a Signal: Create a prominent signal fire near your location. Gather dry wood and light it with matches, a lighter, or a fire starter. Use damp leaves, green vegetation, or rubber from the inner tube of a bicycle tire to create smoke for visibility.
- Shelter and Water: While waiting for rescue, build a shelter to protect yourself from the elements. Collect and purify water, and conserve your resources.
Lesson Learned:
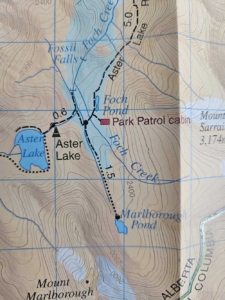
 Let me tell you a personal experience that resulted in the starting of my journey learning to read a map! My friend Amanda and I were hiking from the Kananaskis Lakes parking lot, in search of Fossil Falls (as we are waterfall enthusiasts). I had done some pre-planning in the sense that I had read and studied the description in the Gillean Daffern’s guidebook.
We reached all the described landmarks, and were on a trail (that in hindsight may or may not have been an animal trail) heading onward. Eventually we hit a junction, crossing onto a very populated hiking trail. We sat down for a bite to eat, and when the next human passed us by, we asked him how much farther to the waterfall.
It was at this point that we knew we had done something wrong, because the look on this fellows face was priceless. “What waterfall?” he replied. He pulled out his map for us to look at and show us where we actually were. As our luck would have it, we had actually hiked approximately 5-6kms WEST towards Three Isle Lake from Upper K (having overshot our turn off trail by about 1km), instead of heading SOUTH towards Fossil Falls.
Since then, I always carry a map and download my map on my AllTrails map. Out of sheer honesty, this has not been the first nor the last time we have ended up in a different location than we originally planned, but we have always been prepared and gotten ourselves back on track!
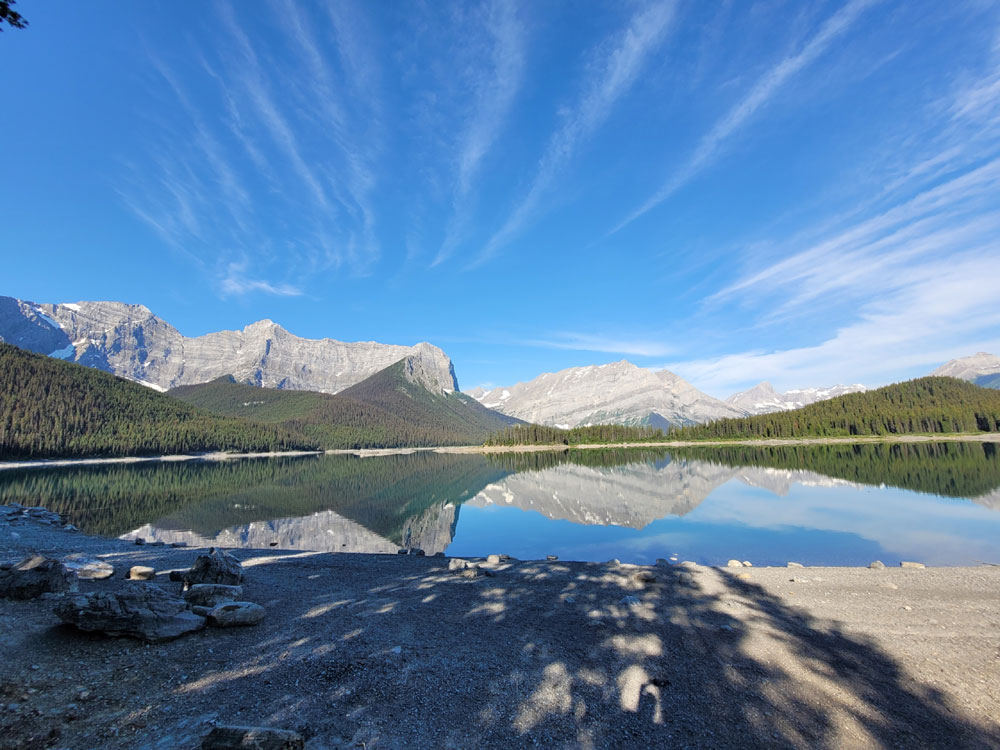
On another trip we did manage to get to Fossil Falls. We had plans to go all the way to Aster Lake, but the time of year had some snow passages that didn’t look safe to cross, so we didn’t get all the way to the lake:


Conclusion:
Mastering wilderness navigation skills is essential for your safety and well-being in the great outdoors. Whether you’re hiking, camping, or finding yourself in a survival situation, knowing how to use maps, compasses, natural navigation, and staying oriented can mean the difference between getting home safely or becoming lost. Always prepare for your wilderness adventures with the right tools and knowledge, and practice these navigation techniques to build your confidence and ensure a safe journey. Happy adventures!

