Lets use the following 7 tips to stay calm during a crisis to better understand the human mind and enhance our resilience and adaptability. This article explores the psychology of preparedness and provides insights on how to remain calm during a crisis.
First lets start with 2 examples:
Example 1 – Getting Lost While Hiking:
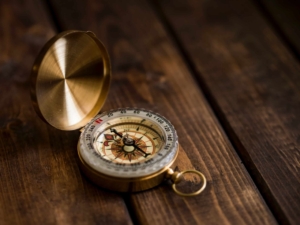
Imagine you are hiking in a remote forest, and you suddenly realize you have lost your way. Panic starts to set in as you feel disoriented and anxious. You take a deep breath to calm your racing heart then remember that you brought a map and a compass, which you carefully pull out of your backpack. You sit down, study the map, and determine your approximate location by identifying nearby landmarks.
Then you use the compass to orient yourself and find the right direction. As you begin to continue your trek, you also notice your GPS communicator you packed, reassuring your safety. With a clear plan in mind, you regain your composure and continue your hike with confidence, ultimately finding your way back to safety. Staying calm and relying on your preparedness skills helped you navigate the crisis effectively.
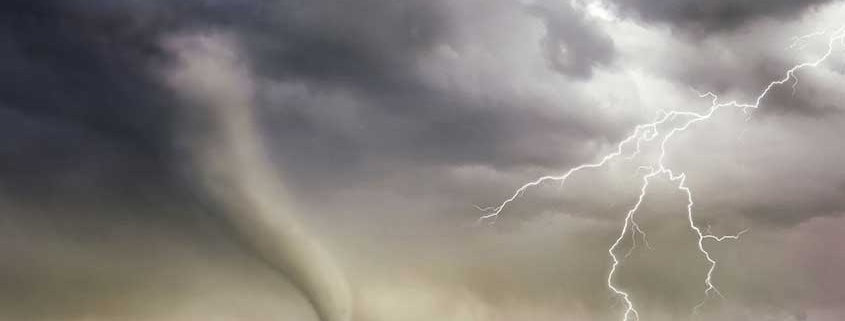
Example 2 – The Storm:
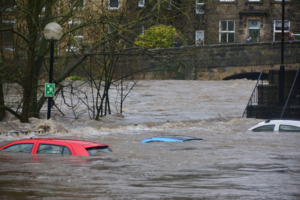
You live in an area prone to hurricanes, and a powerful storm is approaching. As the winds howl and the rain intensifies, you hear the sound of breaking glass. A tree branch crashes through one of your windows, and water starts pouring into your home. Instead of panicking, you remember your emergency plan. You guide your family to a safe, designated area within the house and use a sturdy board and some heavy-duty plastic to quickly secure the broken window.
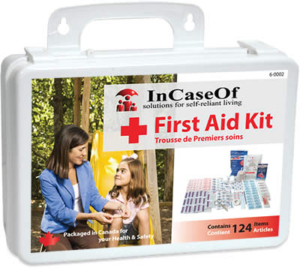
You’ve also prepared an emergency kit with essentials like flashlights, food, and first-aid supplies. As you wait for the storm to pass, you keep everyone calm by playing games and sharing stories. When the hurricane subsides, you’re relieved to find your home mostly intact. Your preparedness and calm, collected response ensured the safety and well-being of your family during the natural disaster crisis.
-
Understanding the Stress Response: Fight or Flight
When confronted with a crisis, our bodies undergo a stress response commonly referred to as “fight or flight.” This physiological reaction involves the release of stress hormones like adrenaline and cortisol. While this response is essential for survival, it can also lead to heightened anxiety, panic, and irrational decision-making if not managed.
This stress response can be understood as a physiological alarm system. It serves to sharpen our senses, increase alertness, and prepare the body for rapid action. The heart rate accelerates, blood pressure rises, and energy is directed towards the muscles, readying us to either confront the threat or escape from it. This is a response that has served our ancestors well in the face of physical dangers or life-threatening situations.
Understanding of the Stress Response Continued…
Today’s crises often do not require physical confrontation or flight. Instead, they demand reasoned and well-thought-out responses. The stress response can trigger heightened anxiety, clouded thinking, and a tendency to make impulsive decisions.
One aspect of understanding the stress response is recognizing that it is a natural and automatic reaction to perceived danger. It is not something to be suppressed but rather managed. In a crisis, it is not about eliminating stress but navigating it effectively. When individuals are aware of the stress response, they are better equipped to recognize when they are in its grip, allowing them to take steps to regain control.
Furthermore, understanding that the stress response is a universal human experience helps build empathy and connection during crises. Recognizing that others may be feeling the same physiological reactions can foster a sense of shared experience and solidarity. This sense of unity can be a powerful source of support and comfort in challenging times.

-
The Role of Preparedness
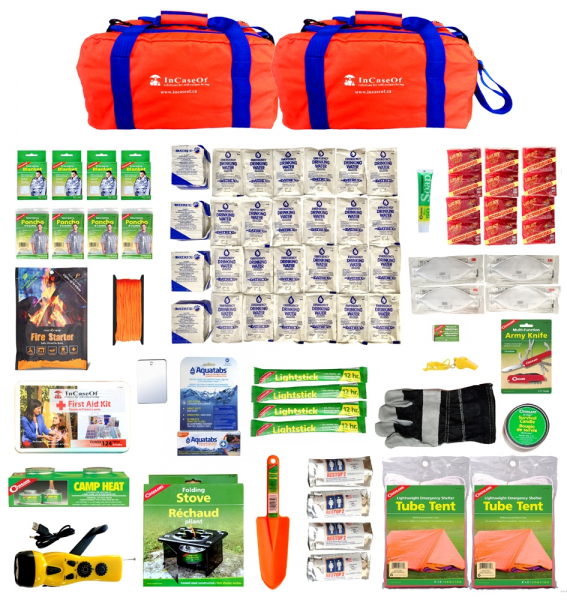
One of the most effective ways to counteract the stress response is through preparedness. When individuals are well-prepared for a crisis, they are more likely to remain calm and rational. Preparation includes having a plan, knowing what to do, and having essential supplies on hand. The psychological security provided by preparedness can significantly reduce stress levels.
This has been a thought pattern in my own life. Have you ever heard an experience someone had and thought “I could never have done that”? It dawned on me that when those thoughts cross my mind, I spend time considering how I would like to handle it, and how I would respond should those unforeseen (and sometimes seemingly unforgiveable) situations came to pass. This has prepared me for countless difficult scenarios!
-
Information Management
During a crisis, there is often a flood of information, some of which may be contradictory or confusing. Managing information effectively is a key aspect of staying calm. To do this, limit exposure to sensationalized or unreliable sources, focus on trusted information, and stay informed without becoming overwhelmed.
How do you know which sources are correct? A few tips include: Cross-check with multiple sources, look at citations and references, or check government websites for official statements.
-
Mindfulness and Emotional Regulation
Mindfulness practices, such as meditation and deep breathing exercises, are powerful tools for maintaining emotional balance. These techniques help individuals stay present in the moment, reduce anxiety, and make more rational decisions. Emotional regulation is a skill that can be developed over time, allowing individuals to manage fear, anger, and panic effectively.
Before there is an emergency: Familiarize yourself with meditation and deep breathing, stay connected, have a support system, and practice accepting the unexpected. By doing this you will find yourself better equipped to handle the fight or flight response.
-
The Power of Positive Thinking
Optimism and positive thinking can be powerful allies during a crisis. While it’s essential to acknowledge the seriousness of the situation, maintaining a hopeful outlook can help individuals stay motivated and focused on problem-solving. Emphasizing strengths and resources rather than dwelling on limitations can also be empowering.
Pro-tip: Try to avoid telling someone else who is in the middle of their own fight-flight cycle to think positive. Focus solely on yourself in stressful situations. Those conversations can happen during a debriefing after the situation is over.
-
Community and Social Support
Human beings are social creatures, and community support is helpful for psychological preparedness. A strong social network provides a sense of security and shared responsibility. Connecting with others who are experiencing the same crisis can help individuals feel less isolated and more resilient.
Pro-tip: Find your tribe!
-
Adaptability and Flexibility
Preparedness doesn’t mean rigidity; it also involves adaptability. Understanding that situations can change rapidly and that adjustments may be necessary is essential. A prepared individual is more likely to stay calm when they can adapt to new information and circumstances. This will be harder for some than others, but my advice to you is that being prepared for flexibility will actually bring more calm to the rigid thinker.
Conclusion
The psychology of preparedness is an essential component of staying calm in a crisis. While it’s impossible to predict every crisis, the skills and mindset developed through preparedness and psychological resilience can make a significant difference in how we respond and recover from challenging situations.


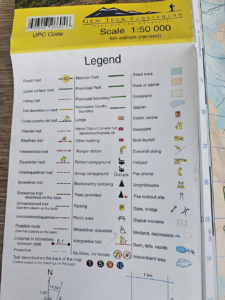
 Contour lines are the squiggly lines on the map. They represent the shape of the land. Closely spaced lines mean steep terrain, while widely spaced lines show flat or gently sloping areas.
 The Big Dipper is a well-known constellation and is part of the Ursa Major (Great Bear) constellation. It looks like a ladle or a saucepan with a long handle. It’s usually visible in the night sky, and its shape makes it easy to recognize.
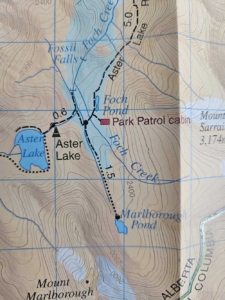
 Let me tell you a personal experience that resulted in the starting of my journey learning to read a map! My friend Amanda and I were hiking from the Kananaskis Lakes parking lot, in search of Fossil Falls (as we are waterfall enthusiasts). I had done some pre-planning in the sense that I had read and studied the description in the Gillean Daffern’s guidebook.