Family Food Prep: Let’s Get Ready Together!
Hey there, awesome kids! Today, we’re going to chat about something pretty cool – family food preparedness. It’s all about making sure we have plenty of delicious food and snacks ready, just in case something unexpected happens, like a big storm, a flood or a power outage.
Why We Involve Kids: They Can Learn and Help
So, why should you, as a kid, be part of this? Well, it’s because we can learn lots of exciting stuff together, and we can help our family be safe and prepared. When we work as a team, we can handle anything that comes our way. And guess what? It can be tons of fun! Sometimes adults can get pretty stressed out if things are going sideways, so as kids you can help by knowing what to do too.
Family Adventure Time: Discover the Importance
Think of our food preparedness as a big family adventure. We can sit down and talk about why it’s important to be ready for surprises. I’ll even share some stories from when I was your age and how my family handled unexpected situations. For example, I remember when I was a kid, we had a big storm and the power went out, so we played games (like hide and go seek with flashlights) and shared snacks from our emergency stash. It made the scary storm not so scary after all!
Educational Shopping: Choose the Right Foods for Your Kit
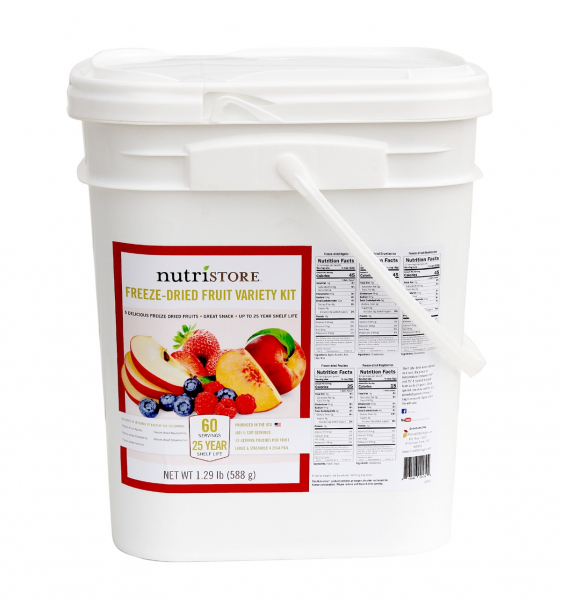
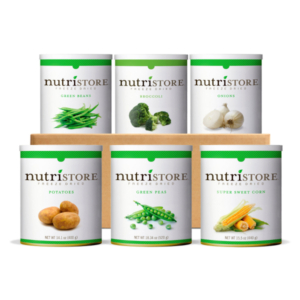
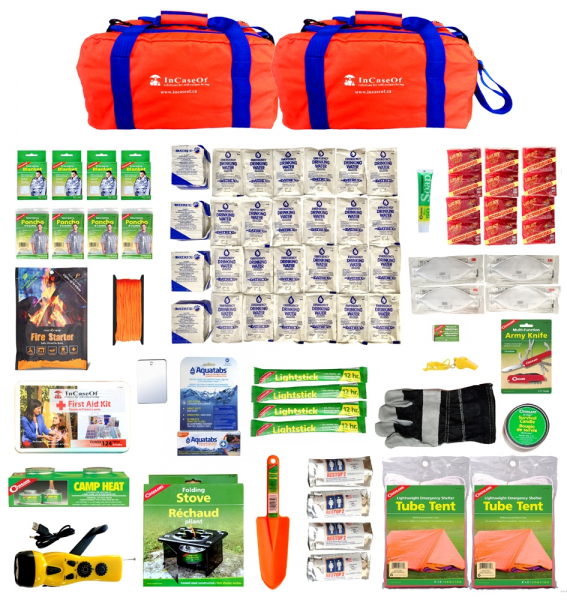
Have you ever been grocery shopping with your family? When we buy food for our emergency stash, we look for foods that can stay good for a long time, like dried fruits or Clif Bars. You can even help choose the stuff you like, as long as it follows our emergency rules. Did I just say rules? I promise they’re not so bad, check them out:
- Most important – make sure you like them!
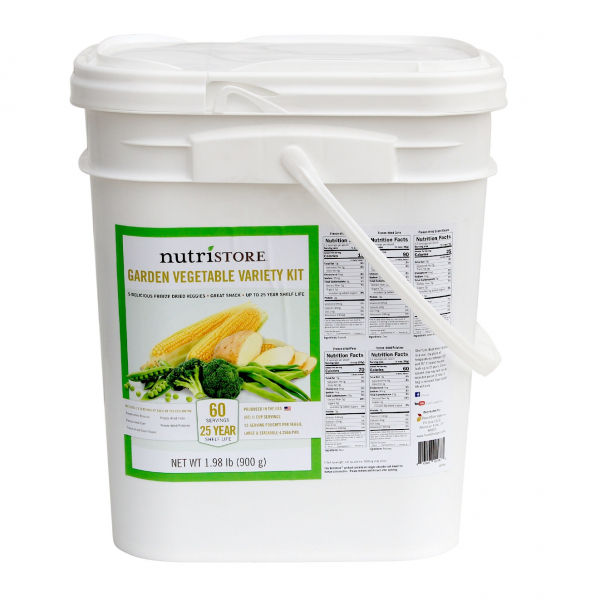
- Make sure they can last in your emergency stash without going bad for a long time (this is called “shelf life”)
- Try to pick some healthy choices, but some treats are okay too
- Pick things that don’t need to be cooked or baked – just in case you don’t have a stove
- Lastly, pick things that can be kept in a special tote bag or bucket, just in case you have to leave your house with it
Cooking Adventures: Become a Mini Chef

Who likes to cook? I do, and I bet you’d love it too! So above I said one of the rules was not to pick foods for your kit that require cooking or baking. However sometimes we are stuck at home (with power) and need to stay at home and not go to the store for a few days.
As a family, learn how to make special meals with your food. Maybe you’ll become a mini chef? A family activity you could do is create a recipe book of emergency recipes so that you have the right ingredients in your pantry to make your favorite meals, even if you can’t leave your house!
Let’s Pretend: Use Your Imagination
How about a little pretend game? Imagine there’s an emergency, and it’s up to us to figure out what to do. It’s like being in an exciting story! You can come up with creative ideas and learn how to solve problems. Let me tell you how to do this:
Roleplay: “The Great Power Outage Adventure”
 Once upon an evening, in my cozy home, something extraordinary was about to happen. The sun had set, and it was getting darker by the minute. The lights were out, and I found my family in the middle of a fantastic adventure called “The Great Power Outage Adventure.”
Step 1: The Announcement (let everyone know what’s going on!)
As the sun dipped below the horizon, I gathered my family together and made an exciting announcement. “Guess what, everyone? We’re going on a special adventure tonight. It’s called ‘The Great Power Outage Adventure!’ The power is out , and it’s time for us to put our emergency skills to the test.” (We turned off all the lights because remember, we are just pretending)
My kids’ eyes sparkled with curiosity as I explained that this adventure was all about being ready for surprises and having fun along the way.
Step 2: Emergency Meeting (have a plan!)
Now, it was time for the first important lesson. “In real emergencies,” I said, “we always need a safe place to meet up. So, we’re going to have a special family meeting spot. Our indoors meeting spot is the living room, and our outdoor meeting place is by the shed. Let’s remember that in case of any emergency.” So my family all made our way to the living room.
Step 3: Flashlight Scavenger Hunt (have enough for everyone!)
With a flashlight or battery-operated lantern in hand, kept in a place everyone knows, we set off on an exciting flashlight scavenger hunt. The mission was to find items we’d need during a power outage. They brought me a first-aid kit, snacks, and warm blankets. (What else do you think you’d need to find? Make a list!)
Step 4: Storytime (this helps us stay calm!)
After the hunt, we all gathered in the living room, flashlights shining, and blankets cozily wrapped around us. It was time for stories. Everyone took turns sharing our favorite tales. Some stories were about brave explorers, and others were filled with magical creatures. All the stories seemed to have a common theme – being prepared for adventures and surprises.
Step 5: Mock Snack Time
As the pretend evening went on, it was snack time. My kids eagerly reached for snacks from the emergency food stash. We discussed the importance of having easy-to-prepare and non-perishable snacks during power outages or emergencies. My favorite snack was a fruit snack, and my son’s was the granola bars.
Step 6: Emergency Plan Quiz
Time for a quiz! My kids tested their knowledge with fun questions. “What should you do if you’re in the dark and need to find a flashlight?” and “Where is our family meeting spot?” They answered with enthusiasm, feeling confident about their preparedness skills.
Step 9: The Grand Finale
And then, just as the adventure had started, I announced, “The power’s back on!” Everyone cheered, and the lights came back to life. It was time to celebrate. We put on some music, and had a celebratory dance party. The adventure had come to a happy and successful end.
Check and Update: Keep Your Supplies Fresh
Every now and then, check up on your emergency food. Sometimes food expires – which means we shouldn’t eat it. Ask your family where the date is on the packaging. You can help us make sure everything is fresh and up-to-date. It’s like taking care of your toys and making sure they’re in good shape.
When you’re part of your family’s food preparedness team, it’s not just about getting ready for surprises; it’s also about being a strong, smart, and super responsible helper in your family. So, let’s get ready together, have fun, and make some awesome memories!


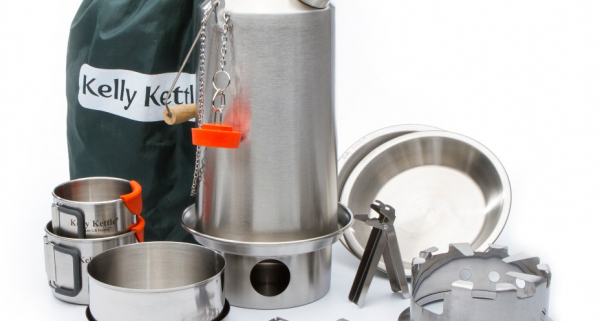

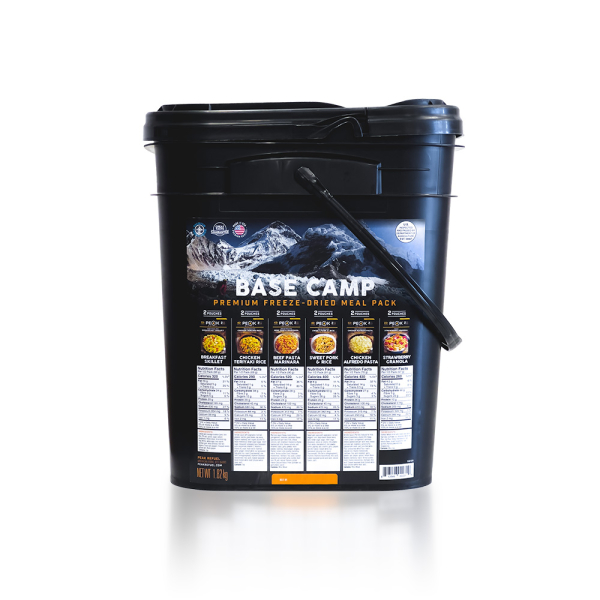
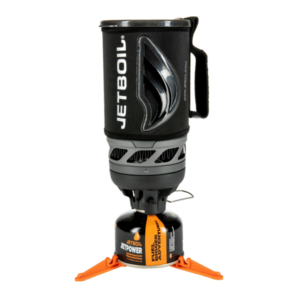
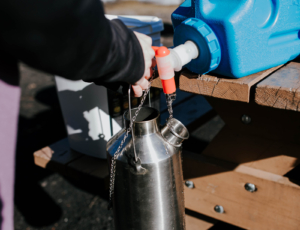 Where Can You Use the Kelly Kettle Base Camp?
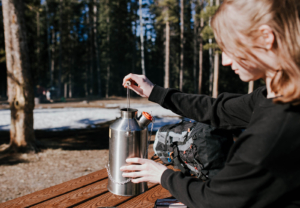 of power outages, natural disasters, or other emergency situations, it provides a reliable means of heating water for drinking, rehydrating food, and staying warm.